Download Pack
This pack contains 43 VJ loops (21 GB)
https://www.patreon.com/posts/95671618
Behind the Scenes
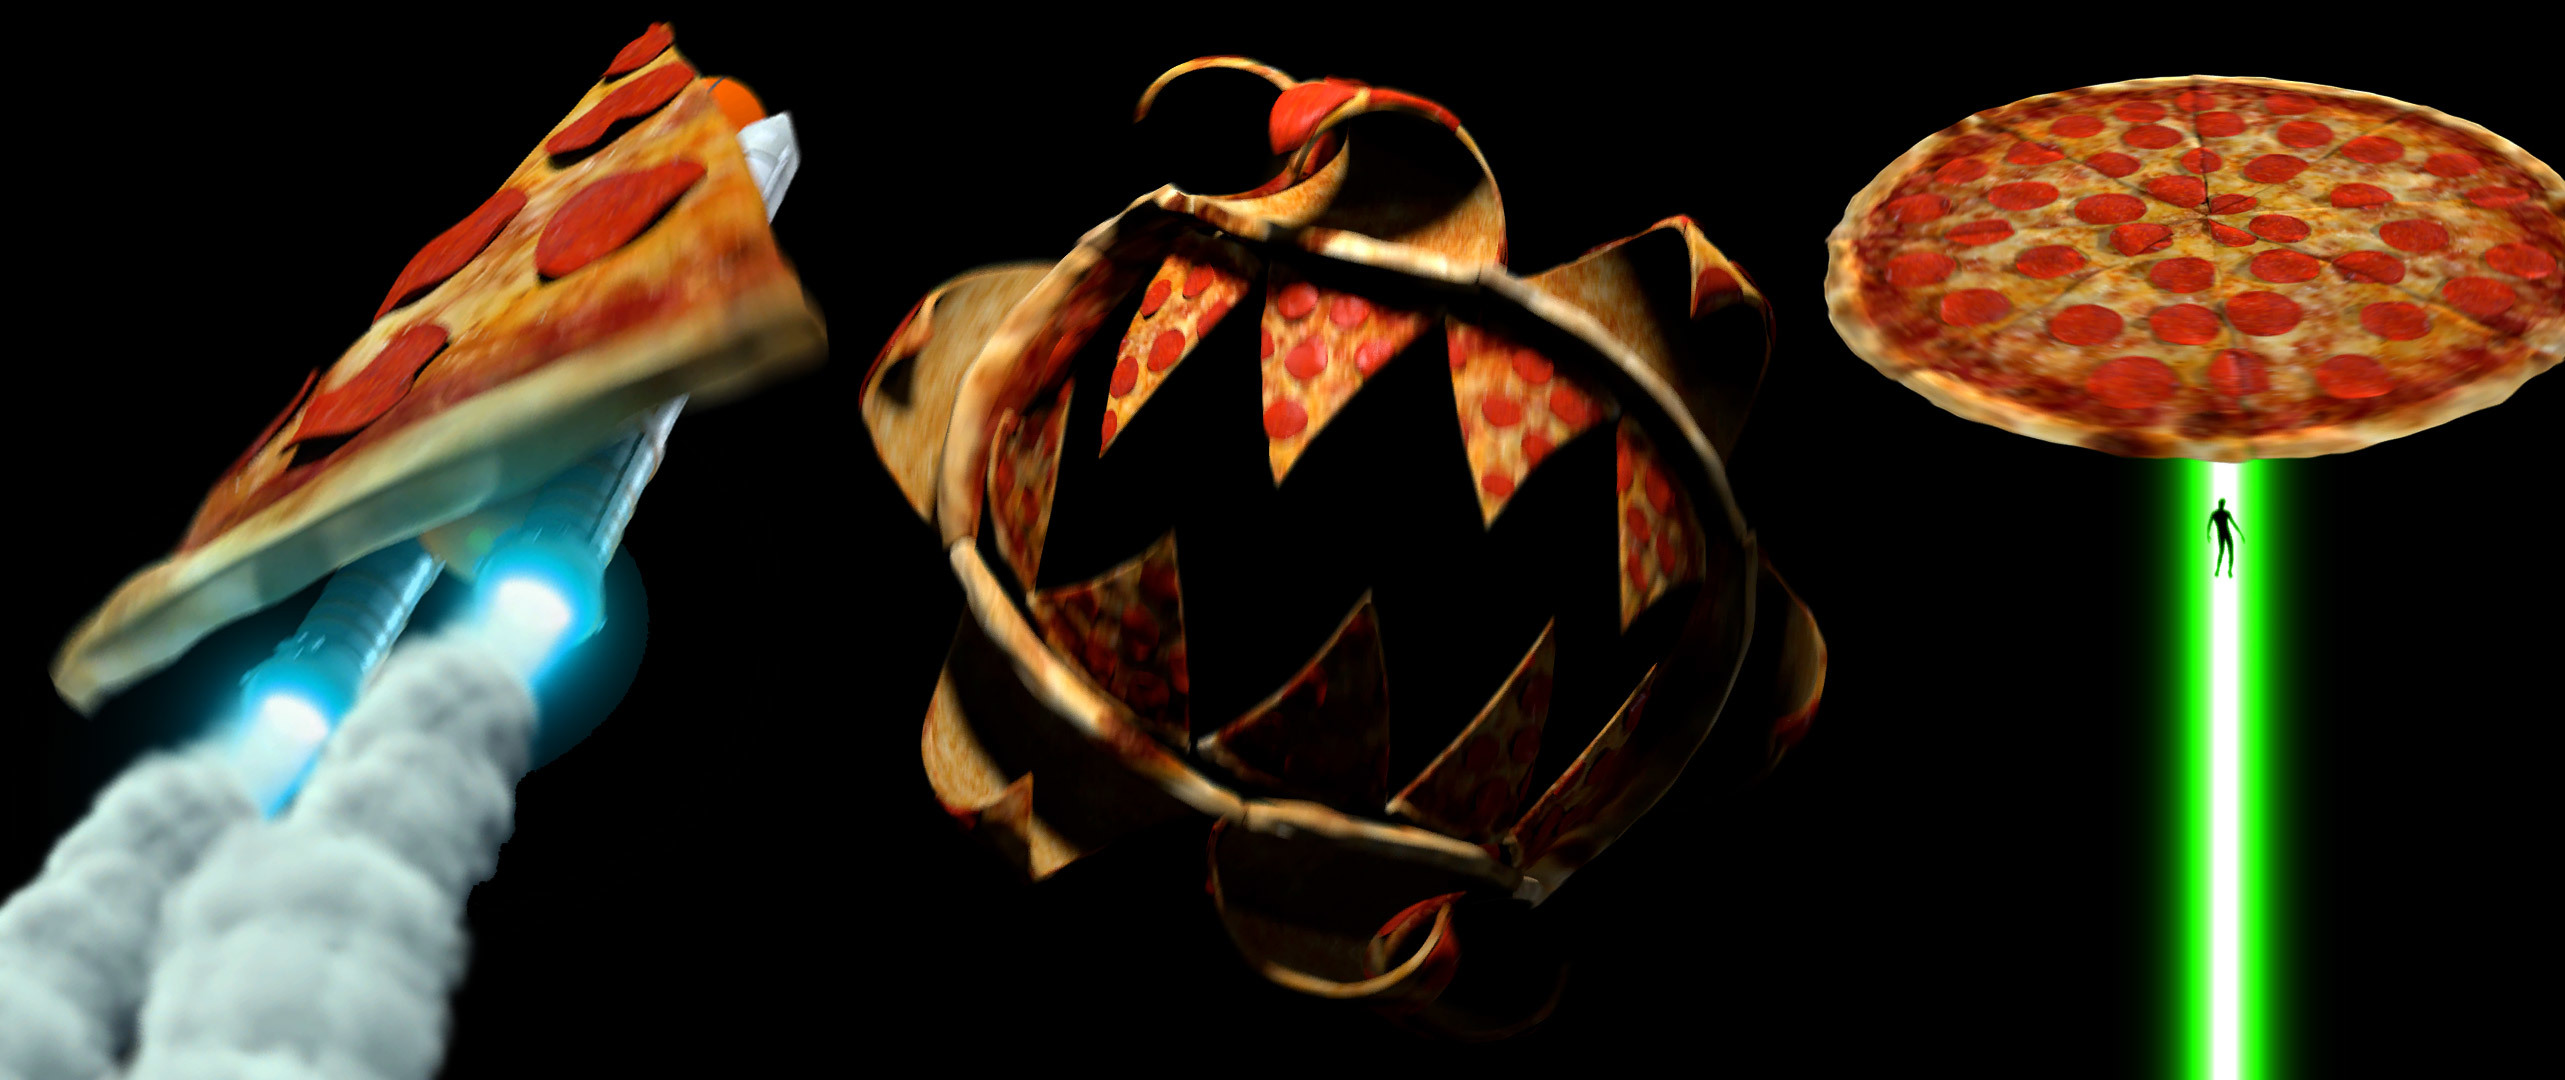
I’ve been blessed and cursed with visions of pizza. Pizza I tell you! Pizza flying like a bird. Pizza strapped to a rocket. Pizza UFO abducting people. Pizza with teeth. Pizza headbanging. Pizza with pepperoni doors. Pizza in a wormhole. I dream of pizza. I just can’t stop.
First I looked around for a high quality pizza model on Turbosquid. From there I used the textures to remake the shaders in Redshift. Giving the pepperonis an appropriate sheen was a nice challenge. With so many ideas demanding my attention for how to animate the pizza it was easy to prepare a bunch of different scenes in Maya.
For the last few months I’ve been experimenting with AnimateDiff trying to get smooth motions out of it. It’s been a really annoying slog, but I had some encouraging initial success in the ‘Mask Hypno’ VJ pack. Then I stumbled across a Discord focused on AnimateDiff and jammed with the Geometric Shapes v2 ComfyUI workflow by Cerspense and it’s exactly what I’ve been looking for. This workflow ingests a single reference image, animated depth map, and text prompt. This workflow is ideal for me since my 3D animations can be used in several different ways. Even though this workflow expects a depth map I just use the beauty pass render of my 3D animations since I render out the alpha channel from Maya and in AE just make it a black background, so it’s a hacky depth map that works fine in this context. From there I then take a single frame from my 3D animation, inject it into SDXL via IMG2IMG, augment the pizza slice into a robot arm pizza slice, and add a green screen background. This image is used as a reference for the IP adapter of how to visually style the AnimateDiff render and gives it some consistency. Then I experiment with text prompts using AnimateDiff until it looks right and tweak keywords as necessary that bring out the desired motions. Finally render out the videos from AnimateDiff, process the videos Topaz to uprez and interpolate to 60fps, and lastly process the videos in AE to chromakey out the background and color correct as needed. This workflow is incredible for bringing in my own artwork and hunting for strange happy accidents. Embrace the glitch! I think this technique holds tons of promise when paired with 3D animation and I think some variant of this technique is the future of VFX as we know it.
I also did some stop motion experiments using SDXL. So I injected the “Twist” 3d animation render with a green screen background into the SDXL-Refiner model. Ah it’s so nice to render at 1024x1024 in SDXL and the extra details are most welcome since I only have to do a x2 uprez in Topaz Video AI instead of x4. But this technique works really well for subject matter that is forgiving of the jittery aspect that is inherent to this technique. Even though the 3D animation is a frame sequence, I’m effectively injecting a huge batch of individual images into SDXL and the only thing lending some temporal coherence to the resulting footage is the denoise value and also locking down the seed value. SDXL is designed for creating still images, but I’ve kinda hacked it to output stop motion style video here.
Doing slitscan experiments in AE with these videos was full of wild distorted surprises. The Time Displacement effect can indeed ingest alpha, but it looks smoothest when fed 240fps content. So I first take the 3D renders into Topaz Video AI and do a x4 frame interpolation, yet Topaz cannot output alpha, and so in the past I’ve resorted to adding a green screen background. Due to the strong motion blur baked into the 3D renders, I wasn’t able to add a green screen background without the chromakeying looking like shit. I hate these types of tech issues but it’s typical in every project involving multiple toolsets. Ah well.
Many of these videos include alpha (transparency) so that you can layer the pizza onto other videos easily. Out of curiosity, I revisited using the DXV-alpha codec, did some tests, and I remembered why I very much prefer using the HAP-alpha codec. Unfortunately the DXV-alpha codec bakes a dark halo around the alpha cutout and it looks terrible. I think it may be a design decision by the Resolume devs to bake in the alpha type as premultiplied or straight at DXV render time, which results in smaller file sizes but makes the alpha channel look less ideal and they might have judged this a worthy tradeoff for VJ purposes… But I’m not thrilled with it. Luckily both the HAP and DXV codecs have a very similar implementation. What makes HAP and DXV perfect for VJ-ing is that within the MOV container is an image sequence that utilizes GPU decompression and so that allows VJs to easily scrub, speed up, and reverse the video in realtime. So I'd suggest installing the HAP codec since it plays back perfectly in Resolume and can also be used in tandem with DXV videos. Just make sure that for each MOV you go into the Resolume clip settings and change the 'Alpha Type' to 'Premultiplied'.
I recently realized that the RSMB AE plugin is quite good at estimating motion blur, but it has some limitations especially with fast moving objects. In the past I would often use the default motion blur in Redshift along with the RSMB AE plugin added on top, especially since it was difficult to prioritize the added render times of 3D motion blur. But I decided to see what 3D motion blur looked like in these various scenes and so all of these Maya/Redshift renders have ‘deformation blur’ motion blur enabled and increased the frame duration to 2. I’m really pleased with how the motion blur adds some perceived smoothness to super fast movements. In the past, quick movements always had a missing aspect that I couldn’t put my finger on and it’s satisfying to finally figure it out. Want to hear a pizza pun? Nah it's too cheesy.


Discussion (0)