Let’s get real, the VJ bank you carry, in many cases, isn’t the set you perform in real-life shows. Different stage designs are mostly project specific, but your VJ set or bank is not! Creating or Noodling your very own VJ project on various stages right while creating shows, is amazing, right? You can get full use of this trick from Resolume version 7.10 and above. Yet there’s another way to create stage simulations, while working or in shows where you barely see the stage through your eyes.
Hi, I am zunayed sabbir ahmed, on behalf of We are VJ Bangladesh, a small uprising community of live visual artists and light designers, based in Bangladesh In this medium-sized video, we will learn to create an in-project simulation using a stage, maybe your design or maybe given by a client, even maybe a photograph!
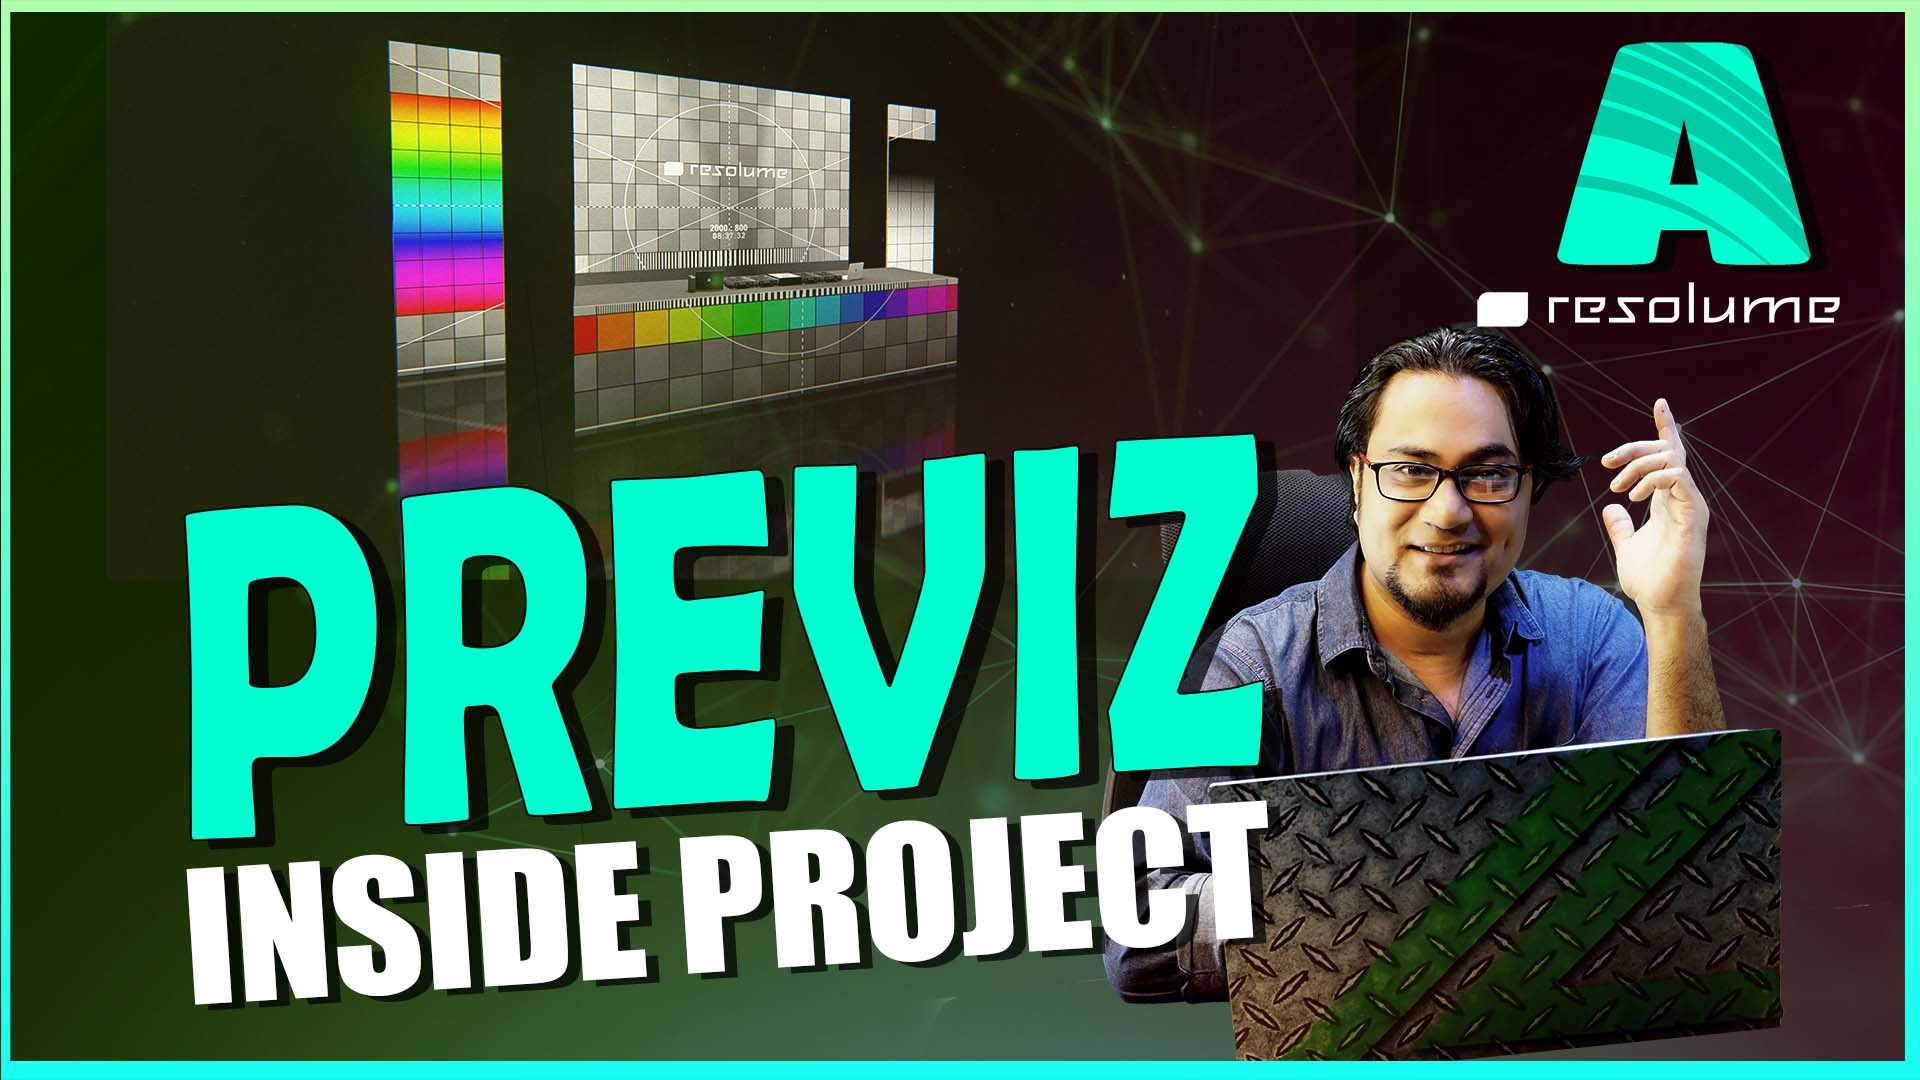
First, let’s say we have a stage given, or your creation, in this case, just a small gig concept randomly built up. Here we can see one LED at the left of DJ, one on center, one on the right and there’s a booth as well. as a picture it fits my full HD set if I split like the image. So we plan to split our 1920 X 1080 video into these slices. After we’re done, we export a PNG and drop it in resolume.
Now we add another layer to our set, top or bottom, doesn’t matter.
We name the layer – Stage.
We drop our stage picture here.
Remember, for best optimization, make sure to bring the stage image as a 1920 X 1080 image.
let’s trigger the clip, but blackout this layer, I’ll tell u why soon.
Let’s dive into advanced output, I truly believe all viewers of this video already know the shortcut for advanced output, yet, it’s CTRL SHIFT + A.
Now, let’s in this video, we will just focus on creating a simulation, for work, for practice and for creating the show.
So we make a Screen, named Simulation and we will keep it virtual.
We get a slice for free with every screen, we will change the input of this slice from our “Stage Layer”.
We will ignore the input fader or bypass the solo feature, remember I told u I’m gonna say it soon, here’s why!
So we have our stage made now we will build our screen mapping onwards.
So the first slice is for the left LED, we’re in input selection btw and we’ll sort out output sections soon
Let’s add more slices for more parts, here’s the background LED, here’s the Right LED and here’s the booth.
It is always a good practice to rename everything as a habit, so we rename every slice
We select all slices.
Change to Output.
Remember we have all our slices selected, so right-click and match input slices.
The slices somewhat make some logic now, to start working.
Now we will select individual pieces, and map them accordingly, we all have seen trillion videos on mapping, so let’s go faster for this section.
So we’re done with simulating the stage with our project.
Save and close.
Remember, I told you, you can make the best use of this if you have resolume 7.10 or above
Because in resolume 7.10, it allows you to have as many preview sections as you want, simply by right-clicking and duplicating a preview monitor.
So in the new preview monitor, we will change the input from our created screen called Simulation.
So we can keep this simulation dedicated while working on a project, creating shows
But what if you have a little older version than 7.10, yet a 7?
You can dedicate that Simulation screen to one of your monitors with physical DP/HDMI/VGA output.
If you have watched this video till this part, this says you’re a visual enthusiast like the people in our small uprising community called we are vj Bangladesh. Subscribe to this community for more sessions, lessons, workshops and idea jamming coming up.
Discussion (2)
through love and creativity for us all- সকলের জন্য ভালোবাসা ও সৃজনশীলতা
<3
VJ union এর সকলের জন্য ভালোবাসা! <3