Download Pack
This pack contains 61 VJ loops (18 GB)
https://www.patreon.com/posts/83757040
Behind the Scenes
Looking at a field of galaxies fills me with awe. The indescribable distances, the vast proportions, the possibilities of life, the infinite questions, the universe is a time machine. And so I thought it was high time that I revisit my roots seeing as how I have experience as a Science Visualizer from when I worked at the Charles Hayden Planetarium creating fulldome astronomy shows.
The "Galaxy Field" scenes have a bit of history. About 10 years ago I made a galaxy field in Maya and then open sourced it. I have long yearned to return to this and try out some intense flight paths. Creating this Maya scene originally involved downloading about 68 real photos of galaxies, photoshopping each image to hide the edges, creating a separate luma image just for the alpha channel, creating a bunch of Maya shaders, creating thousands of 1x1 polygon planes, applying the shaders randomly to the planes, and then randomizing the position/rotation of each plane. Although duplication could be instanced in Maya to save tons of RAM, I've never been fond of this technique since it stops me from experimenting with my favorite deformer tools that require actual polygons. So working with this scene has been slow since I'm manipulating anywhere from 10,000 to 30,000 separate objects at once, but Maya is up to the task if I plan each step carefully and move slowly.
I added environmental fog so that the galaxies in the far distance would fade to black. This is not the most ideal implementation but it solved the issue easily and made it feel more realistic. After randomizing the position of each galaxy then I end up with a literal box of galaxies. I thought it was a weirdly interesting artifact and so I embraced it. I randomized the keys for the XYZ rotation so that each galaxy would spin at a different rate, although this doesn't respect the traditional axis that a galaxy would truly orbit around, but I think it works fine in this abstract context. Sorry astronomers! The Box8 and Box16 scenes refer to the scale of the individual galaxies, so the galaxies in Box8 are approximately x10 larger than in reality and the galaxies in Box16 are approximately x20 larger than in reality. The universe is so big that I have to fake the scale of the galaxies because they are in actuality so far apart from each other, what a brain blender that fact is. I'm not thrilled that these galaxies are paper thin but the aim here was to work at scale with thousands of galaxies and fly among them. In the future I'd be curious to see if I can emit fluid from each galaxy texture so that they have some depth. Overall I'm very satisfied with all of the different camera paths that I was able to create. Working at 60fps allows me to move things wildly fast and so it's been interesting to see how far I could push it, especially with the 3D motion blur.
For the "Astronaut" scenes I had this idea of watching galaxies zoom by as you're seeing it reflected in an astronaut helmet. Originally I was going to have the astronaut suit be setup with the traditional white fabric, yet the brushed metal material looked so good when it reflected the galaxies. I decided against adding any camera shake since that is an easy effect that can be added when VJing in real-time. Including the human skull was a last minute decision. I've tried multiple times to light a scene just using shader textures instead of a light. Due to the way that the 'galaxy field' scene was originally setup in Mental Ray, the shader used the incandescence attribute so as to have everything be self-lit. So now that I'm relying on Redshift I noticed that when I enabled global illumination then I was getting some light scattering on the skull from the galaxies, which was a happy accident and I didn't know was possible. From there I just had to crank up the Color Gain attribute by a factor of 10 for each galaxy texture and then they were emitting enough light. That will be a fun aspect to experiment with more in the future. For the astronaut model, I used the Extravehicular Mobility Unit provided freely by NASA.
The "Galaxy Closeup" scenes were created entirely within After Effects. As a subtle effect, I applied the 'Turbulence Displace' effect to each galaxy to give it the illusion that the star clusters are moving. I tried cutting out some select stars and adding them to a raised plane to make use of the parallax effect, but it just looked kinda janky and so I scrapped it. I'd like to explore this again in the future and see if I can make it work.
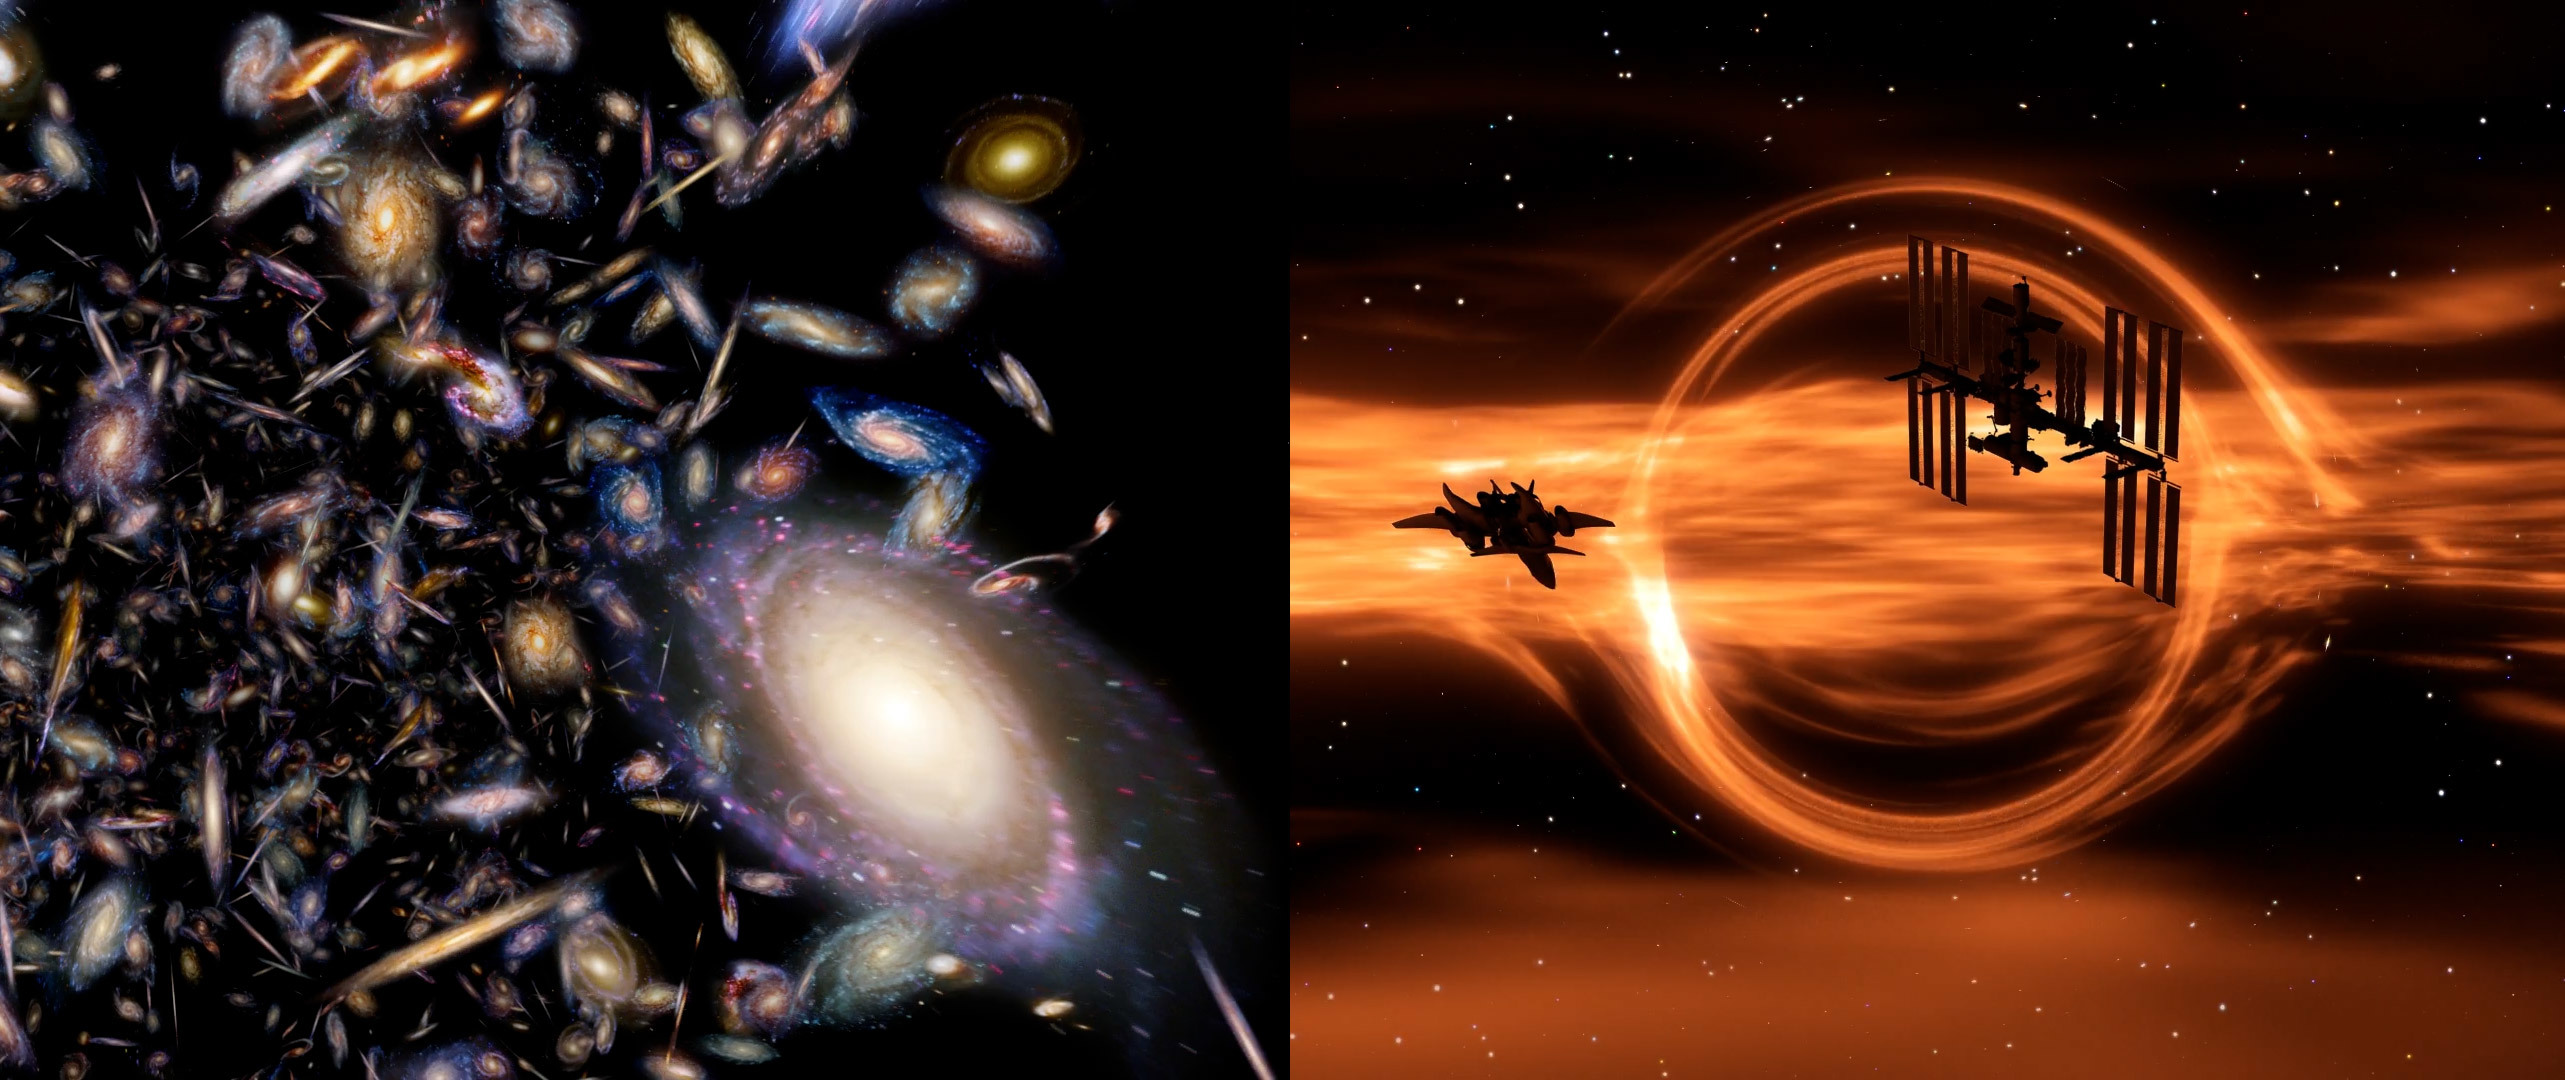
The "Black Hole" scenes were one of the few things that I never got around to visualizing when I worked at the planetarium and so it was satisfying to whip it up in my own style. I tried a bunch of different methods but getting the black hole shader to be functional in Maya/Redshift proved to be too difficult and I got sick of spinning my wheels. So I moved over to Maya/Arnold instead and I was surprised at how efficient Arnold was at rendering on the CPU. This tutorial helped me to setup the main black hole shader in Arnold. I'm not thrilled with the hard falloff at the edge of the black hole but I seemingly couldn't tweak it any further, ah well I still love the end result.
The "Wormhole" scenes was what initially inspired this whole pack. I originally wanted to make a wormhole that was transparent and had 3 sizes of tunnel visible so as to make use of the parallax effect, but the render times were too intense for that and so I ended up with 1 tunnel featuring 4 different noise textures. To skip over any issues with UV mapping seams of an extremely long cylinder, I instead utilized the 3D noise nodes in Maya since they ignore the UV's. From there I had the idea that I could import the galaxy field into this scene and make it feel as though we were flying through a wormhole in intergalactic space. Then I had a crazy idea and wondered what it would look like if I applied a glass material to the tunnel model so that I could see the galaxies refracting through the glass. Being within the glass material ended up being too abstract, but the magic happened when I duplicated the tunnel x3 and put the camera between the 3 tunnels.
As always, I'm still obsessed with the slitscan effect. Having matured my AE 'Time Displacement' slitscan technique in the last few packs, I had yet another breakthrough. For a while I've known that 240fps footage is ideal for slitscan processing so as to hide any time aliasing in the pixel rows/columns, yet that was often much too intensive for my render pipeline. But I realized that I could use the Topaz Video AI app to process the footage to be x4 slowmo and therefore achieve 240fps. Normally I wouldn't apply a x4 slomo processing this kind of fast moving footage since it often introduces some interpolation blips and weird transitions where the inter-frame changes are too extreme, but for my slitscan purposes it worked wonderfully. So while that adds an extra step into my already tedious workflow, it allows the slitscan distortions to stretch and warp perfectly. What I love about slitscan is that it's so unpredictable and the results are often incredibly bizarre.


Discussion (0)