Download Pack
This pack contains 141 VJ loops (78 GB)
https://www.patreon.com/posts/111229534
Behind the Scenes
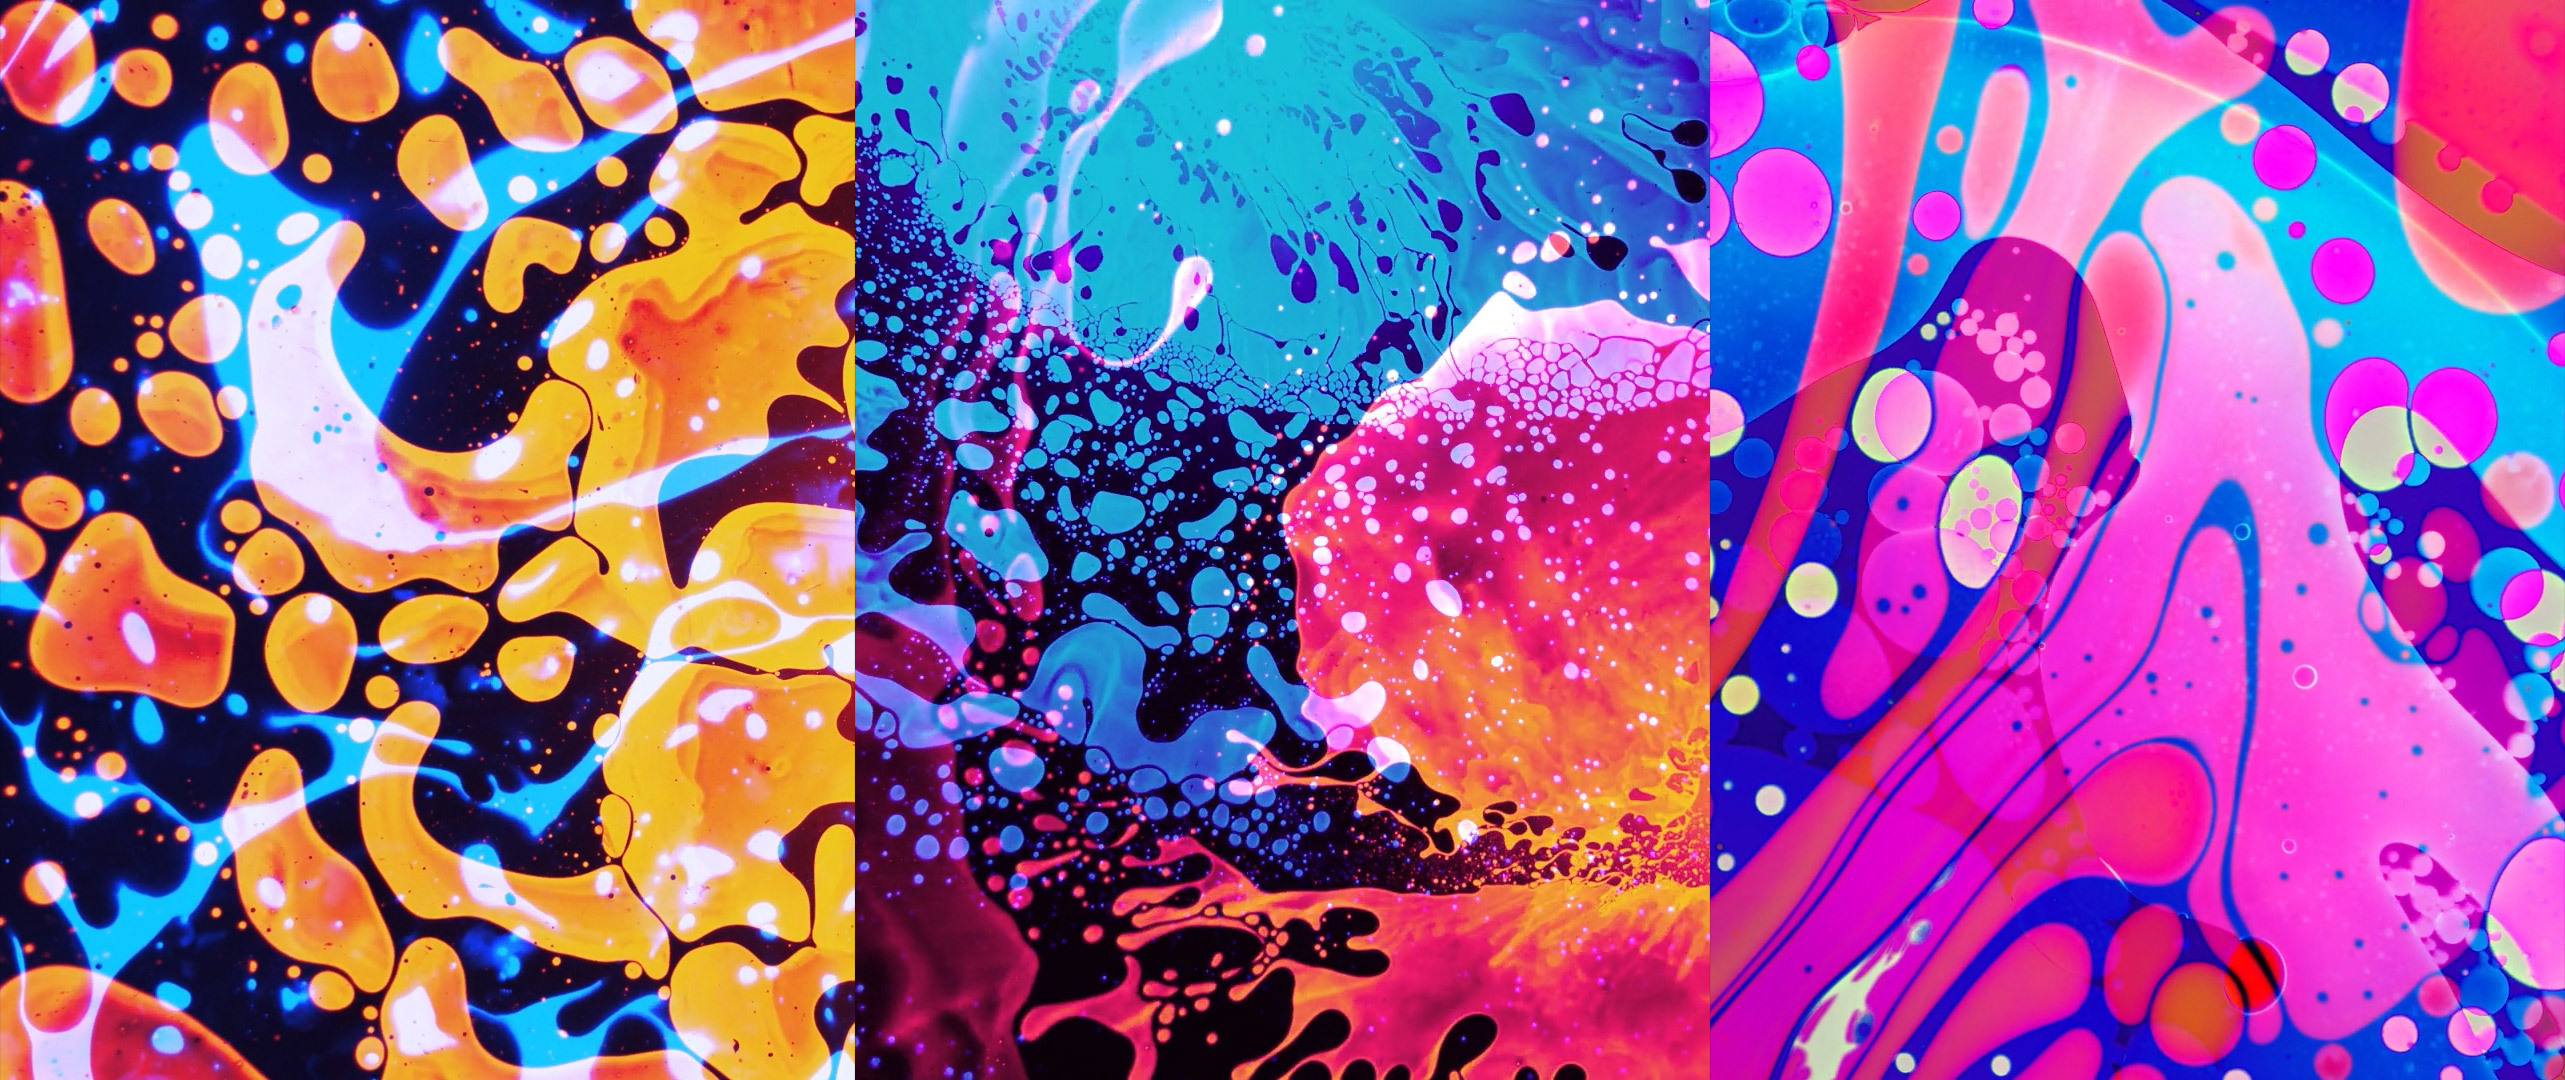
Let's get psychedelic with some vintage liquid light show techniques! My aim was to capture footage that would allow VJs to layer up the videos and see new mixed colors by using the difference blend mode, possibly while using the "Hue Rotate" effect to automatically cycle through the color wheel. Mind melting fun!
I used a few different physical techniques to make these visuals. One technique was to use two convex glass plates and yet one glass plate is smaller than the other. Then you can put liquid into the bigger plate and then use the smaller plate to squash the liquid and get some amazing patterns. I had considered buying some clock glass on ebay but I didn't want to waste time and instead bought some "fast" glass plates that are proven to work nicely. I started by pouring in some water, mineral oil, oil-based dye, water-based dye. Then I poured in some 70% isopropyl alcohol which affects how the oil sits on the water and also helps stop the oil from sticking to the plate. It takes a little bit of experimentation to get the correct mix of liquids looking ideal. For the "OneInk" recordings I also poured in some inkjet printer ink. There are several ways to play with the plates and get different effects and it can be kinda tricky to control, but this tutorial helped me understand the basics. Big shout out to Liquid Light Lab for sharing the knowledge.
Another technique was to use a single glass plate and keep it open face. Then you pour in some water, drop in some oil-based dye, and use a straw to blow air across the surface. Since oil and water don't mix this makes for some really satisfying patterns. Then when the oil-based dye had been blown around a bunch and reached a state where no new patterns were emerging, then I filled a mister bottle with 70% isopropyl alcohol and sprayed it into the liquid. This broke up the oil-based dye and gives it a less viscous quality, which allows for some amazingly abstract organic shapes to happen when blown around. It was also interesting to see how different colors of oil-based dye reacted slightly differently on the water and also when mixed with other colors. I also poured in a small amount of mineral oil which allowed the oils to further mix together in interesting ways.
The last technique I explored was to again use a single glass plate and keep it open face. Then you pour in some glycerin into the dish to serve as a base. From there drop in some oil dye and use the mister bottle with 70% isopropyl alcohol and spray it into the dish. Since the glycerin is not water soluble, the oil-based dye sits on top and so when you spray the 70% isopropyl alcohol into the dish then it evaporates quickly and you get to watch the chemical reaction. The evaporation process happens even quicker if you blow air over the surface.
I had originally wanted to record even more footage of milk, acrylic paint, oil, and soap being mixed together. But it was too difficult to get an extended shot where something was continually happening since the milk mixture tended to have 10 seconds of action and then turn static. I also had some ferrofluid that I wanted to play with using a magnet to help mix up the fluid without touching the liquid but it was delicate to work with. But lighting it from below using a light table did not look good and yet it was challenging to light it from above. Overall I could have probably made it work but it just didn't live up to what I had in my mind's eye.
Everything was shot with an iPhone 15 Pro that was mounted onto a Blue Compass microphone boom arm. I borrowed the boom arm from my wife since it's what she uses when teaching bookbinding classes via Zoom. I also borrowed a light table from her, which is how everything is illuminated from below. So basically the camera is overhead and looking straight down into the light table. This allowed me to perform with the glass plates without fear of bumping the camera. I had theorized that capturing up close video of the liquid experiments would be beautiful, and while my iPhone 15 Pro includes a 13mm macro lens, you must get about 1 inch away from the subject matter and so that wouldn't work in this context. So I bought a Sandmarc Macro 100mm lens since it has a more generous focus distance. For these experiments, I ended up using the Sandmarc Macro 100mm lens and the internal 24mm iPhone lens. I downloaded the Blackmagic Cam app and used that to record 60fps video. Using this app allowed me to manually control the exposure, shutter, focus, white balance, and also use the HEVC codec... Which allowed me to shoot using the Apple Log color space! Shooting log video means that the video is 10-bit and traditionally that has meant using the ProRes codec, which gobbles up an absurd amount of data per minute. So being able to capture log video just on my iPhone was really amazing since it granted me more room during my compositing explorations in After Effects. This is particularly important in this context since I wanted to heavily modify the colors and so I needed as much exposure latitude data as possible.
After recording everything then I brought all of the footage into After Effects. An approach I wanted to take was to not feature bright white light. So I did all sorts of experiments in tweaking the exposure using Lumetri Color FX to work with the log video and that allowed me to push the color gradients in different directions. I experimented with several different FX such as: Colorama, Bfx Map Ramp, Tritone, gradient ramp via color blend mode, and such. I pushed the footage right up to the limit of the log video exposure capabilities. And for those of you that want to experiment on your own, I also included versions of the footage using the original true colors.
And of course right when I thought I was done then I had another idea. A while back I wrote a poem that was speaking to the intense times we live in and how fast everything is moving. So I've wanted to animate the text and for some reason this context felt like the right time to do so. So I nailed down a font that had a liquid feeling to it and made sure that it had upper and lower case variations so that I could make it feel slightly more hand drawn. Then I found this great tutorial showing how to morph between words, but I enhanced it by making use of the simple choker FX to assist in the transitions and make it feel more fluidic. Then I injected the video into NestDrop and used some of the reaction diffusion presets to give it even more liquid vibes.
When I started rendering things out from After Effects, I was watching back the videos and I was getting some artifacts and banding in the darkest regions of select videos. So I did some various tests in AfterCodecs and realized that I typically use the "Faster" compression ratio preset. I had always thought that this was just affecting how much time was spent rendering the result and that the CRF value was where the quality percentage was actually determined. But in my tests I realized that even if I kept the CRF to 70% and then tried out both the "Faster" and "Very Slow" compression ratio presets, then the "Very Slow" preset cleared up all of the artifacts and also the image retained more detail yet it takes double the amount of time to render out. This was a huge surprise to me since I hadn't experienced it before. But contextually I think that this footage is really putting the H264 codec through the ringer since there is so much detail being captured in the liquid and so that is being crushed by the compression ratio and then also 8-bit video often suffers with dark gradients. So it's kinda the perfect storm I'm working with here and I learned something new about rendering.
After rendering everything out, I did some tests in Topaz to see which videos could have some slowmo processing applied. I think slowing down the footage was really useful for these videos since having some slow moving liquid is a nice thing to layer up with other videos. But the main problem I've experienced with doing slowmo processing in Topaz is that super detailed areas can get kinda mushed after being processed. So I tested out the Apollo and Aion models at x4, x8, and x16 slowmo speeds. Turned out that the Apollo x4 looked best in this context. I wish that I could have slowmo processed even more videos, but there is tons of content here to work with if you take the slowmo videos and simply change their hue color to what you desire.
These videos look so good when injected into NestDrop for some generative surprises. I did some testing and was getting some amazing results but I ran out of time. So I hope that someone jams with these in NestDrop. Far out dude.


Discussion (0)