How to Build a Full Timeline-Based Projection Show in MadMapper 6
There is a difference between a mapping session and a show. A session is exploratory — building, testing, figuring things out. A show is a deliverable. It starts, it runs, it ends, and it does what it is supposed to do every single time without exception. Building that inside MadMapper 6 requires a specific workflow, and that workflow has a sequence.
Here is how I actually do it. After fourteen years and more than 400 shows.
Step 1: Define Your Surfaces Before You Touch Media
The first thing I do in any new project is set up and name every surface I will be using. Quads, meshes, lines — all defined and organized into logical groups before a single piece of media is attached. This creates a clean project structure from the start and prevents the chaotic layer confusion that kills show workflow later.
In MadMapper 6, group management is more capable than in earlier versions. Use it. Name everything. A surface called "quad 1" at hour three of a show build is how mistakes happen. A surface called "stage-left-pillar-top" is how shows run cleanly.
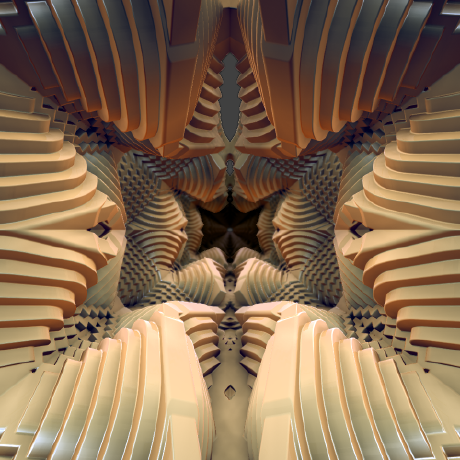
Step 2: Bring In and Organize Your Media
Media goes into the library after surfaces are set up — not before. Assign content to surfaces, check alignment, verify everything is reading correctly on your physical output. Do not rush this step. Alignment errors not caught here show up on the projection surface in front of an audience.
My advice to every student: if something looks slightly off in the software, it will look very off on the wall. Your eye calibrates to the screen. The projection surface does not lie.
Step 3: Build Your Scenes
Scenes are saved states of your entire project. Each scene should represent a distinct moment in the show — a different content set, a different effect state, a different output configuration. I plan my scenes before I build them: sketch or list what each moment looks like, then build scenes to match.
Name your scenes in show order. This sounds obvious. It is extraordinary how many people skip this and spend the night of a show hunting through unnamed scenes under pressure.
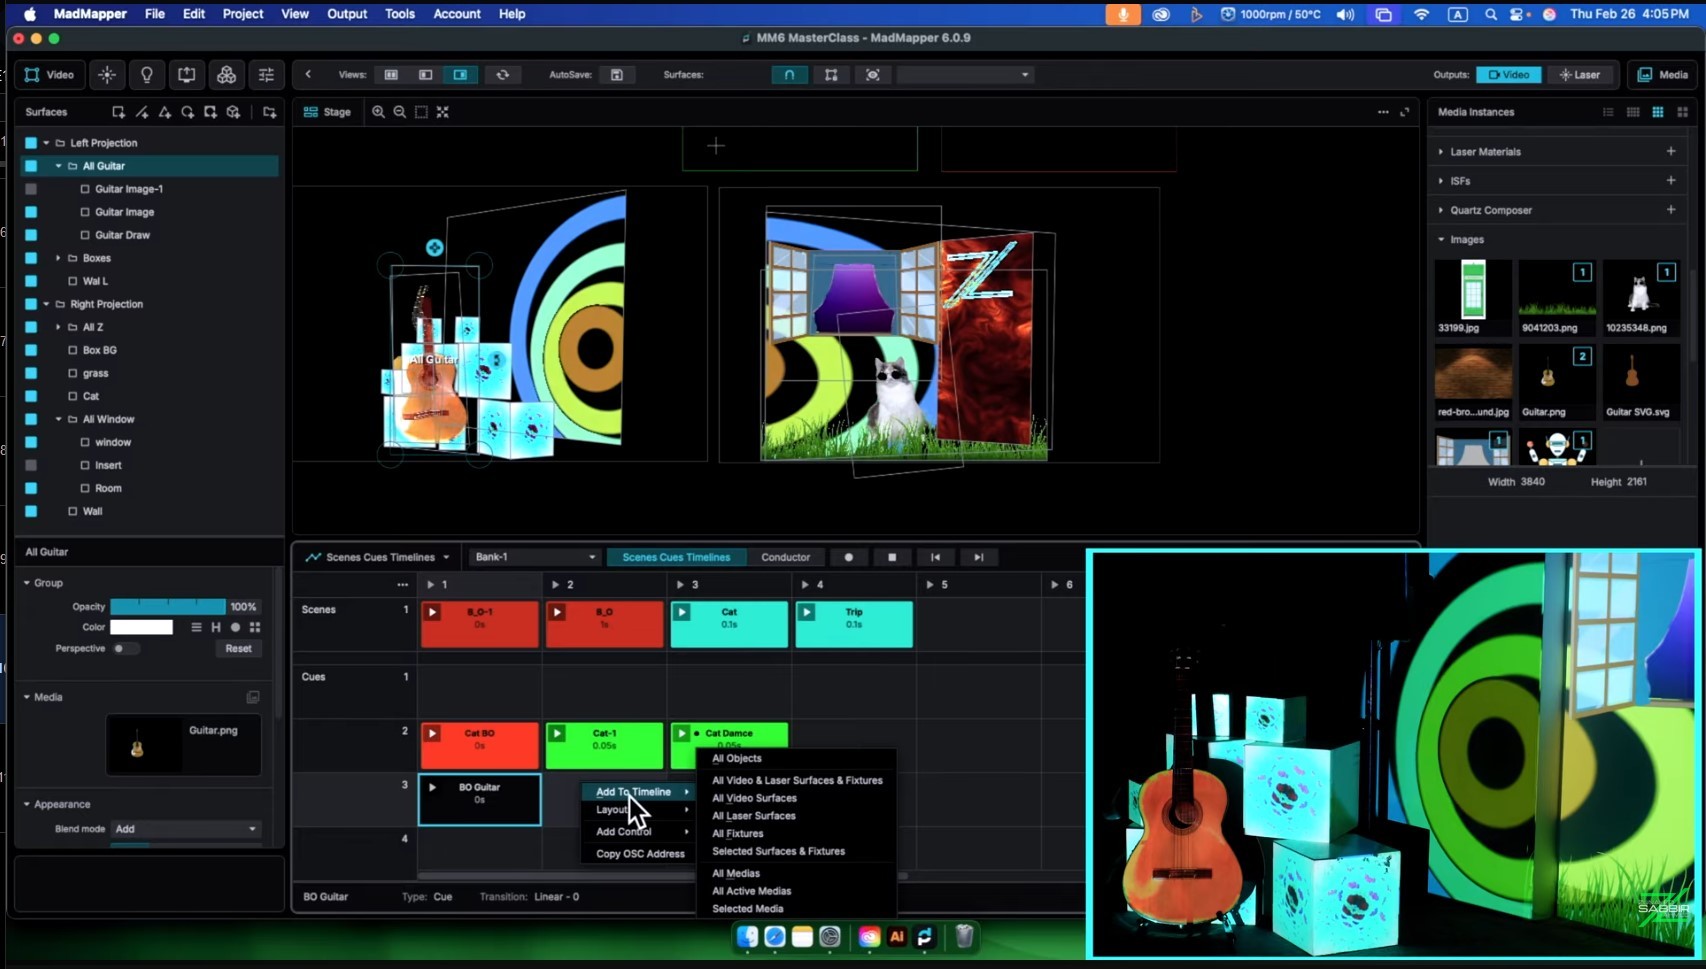
Step 4: Set Up Your Cues
Cues are the transitions between scenes. Set up a cue for every scene change in the show. Test each one manually — trigger it, watch what happens, verify the transition is clean. Fix anything that is not right before you go anywhere near the timeline.
This is the step most people rush. Do not. A cue that works correctly in isolation is the foundation of a timeline that works correctly under show conditions.
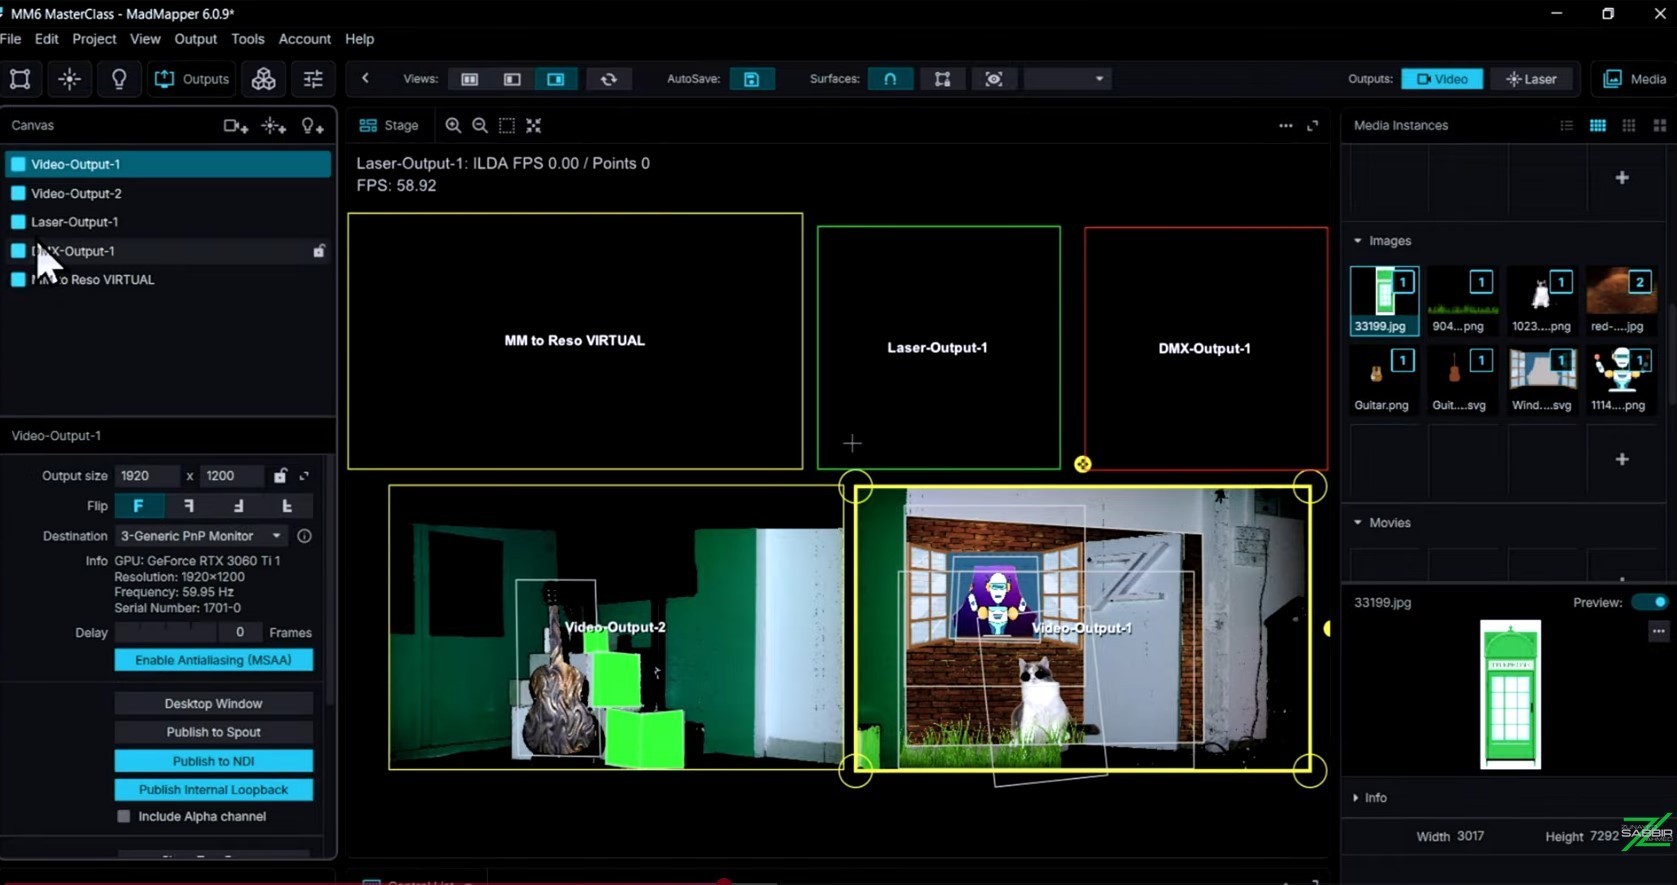
Step 5: Build the Timeline
Only when scenes and cues are solid do you build the timeline. Place your cues in sequence. Assign timing. If the show runs to music or a fixed audio track, sync everything here. MadMapper 6's conductor feature lets you make tempo-based adjustments without rebuilding your cue sequence — incredibly useful when a creative director changes the show pace three days before opening night.
Add keyframes where you need smooth parameter transitions — opacity fades, effect buildups, gradual changes a hard cue cut cannot express. This is where the show goes from functional to polished.
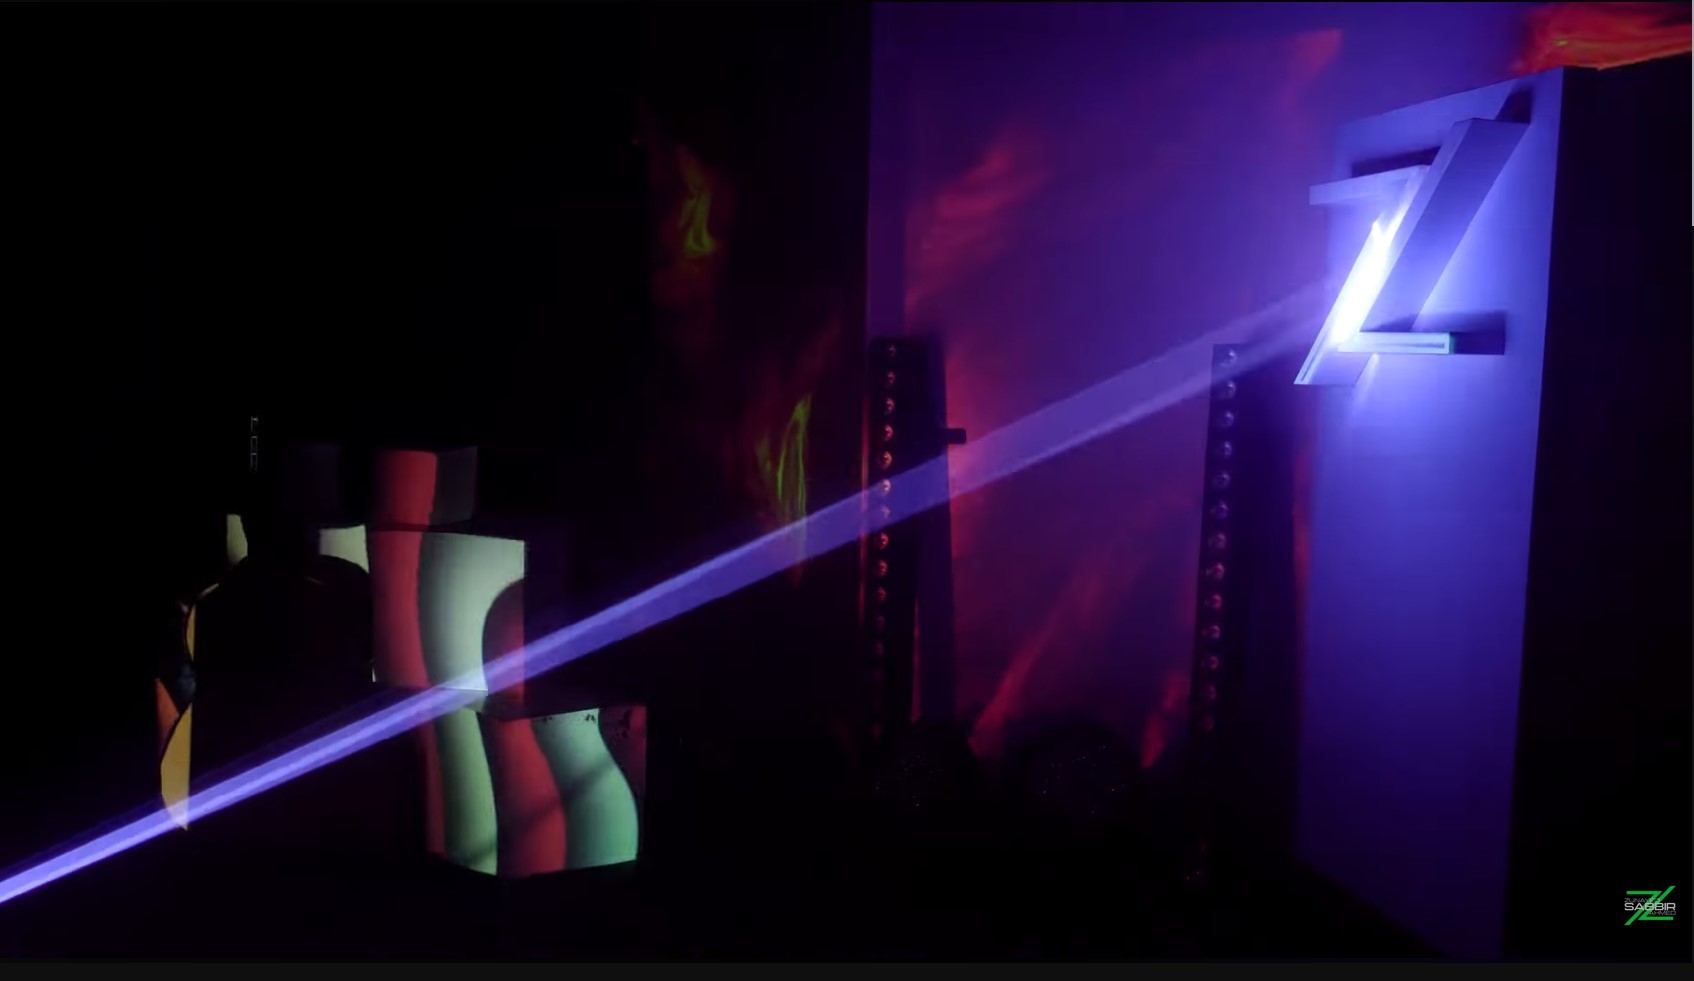
Step 6: Test in Full, in the Dark
Run the full timeline from start to finish. In the dark. On the actual projection surface or as close to it as you can get. Watch for alignment drift, cue timing issues, media loading hiccups, anything that does not look right.
Earlier in my career there was a show where MadMapper was not originally part of the project plan at all. Space Scanner saved the production — it let me align a complex surface quickly when there was no time for manual calibration. Tools like that become invaluable when show conditions compress your setup time. Know them before you need them.
Step 7: Lock It and Let It Run
On show day your job is to monitor, not to build. If the timeline is locked and tested, you are watching for technical exceptions — not making creative decisions. That is the mindset shift that proper show programming creates.
The difference between someone who can do projection mapping and someone who can run a show is the same as the difference between the actor and the director of a film. The director has already made every decision before the curtain goes up.
The MadMapper 6 Masterclass walks through this entire workflow in sequence — from the first surface to a complete running timeline show. The final chapter is nearly an hour on its own, building that show from scratch and recapping every skill in the course as it comes together. I am a certified MadMapper trainer recognized directly by MadMapper. The workflow above is how I actually build shows. The course is how I teach it.
Get Started: https://studio-z.ca/all-courses/madmapper-6-masterclass-beginner-to-intermediate/


Discussion (0)