How to Learn MadMapper 6 From Scratch: The Honest Beginner's Roadmap
My first time opening MadMapper was around 2012. I was setting up visuals for an all-night jam session called Speakeasy. No tutorials existed that actually helped. No one to call. I figured things out the hard way — forums, trial and error, and a lot of broken test runs before I trusted myself on a live show. It worked eventually. But it was slow, and it created gaps in my knowledge I did not even know were there until a real show exposed them.
You do not have to do it that way. Here is the learning sequence I actually recommend.
Start With What You Are Trying to Build
The biggest mistake beginners make is opening MadMapper, clicking around for a few minutes, and immediately trying to run something. They touch maybe five percent of the software and never go deeper. MadMapper rewards people who understand what they are building before they touch a surface. Projection mapping means making a projector's output conform precisely to a physical object. The software is your control layer. Every decision inside it connects to a physical reality outside it.
What MadMapper 6 Actually Is
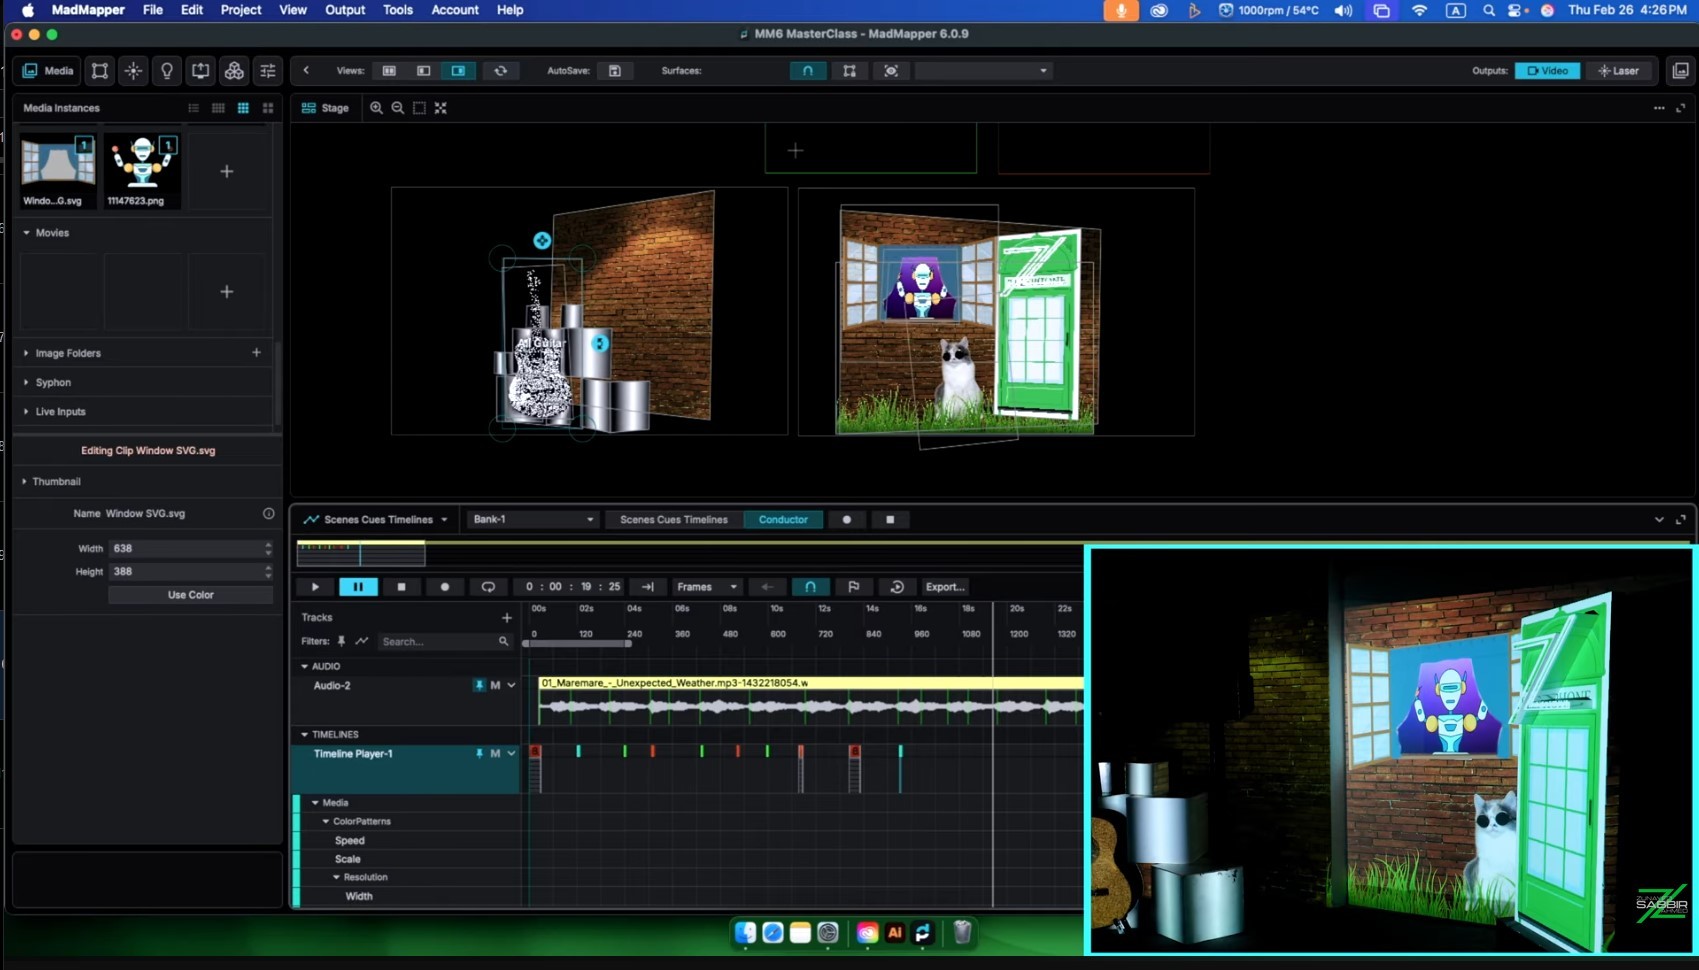
MadMapper is not only a projection tool. That misunderstanding keeps people limited. It handles projection mapping, LED display output, DMX lighting control, and laser mapping — all from one interface. Version 6 is the most capable it has ever been. Redesigned interface, upgraded rendering engine, and a timeline system that completely changed how I build shows. When version 6 dropped, the timeline stopped me in my tracks. It was not a small update. It was a new way of thinking about show programming entirely.
The Learning Order That Actually Works
Here is the sequence I give everyone I teach, based on years of one-on-one sessions:
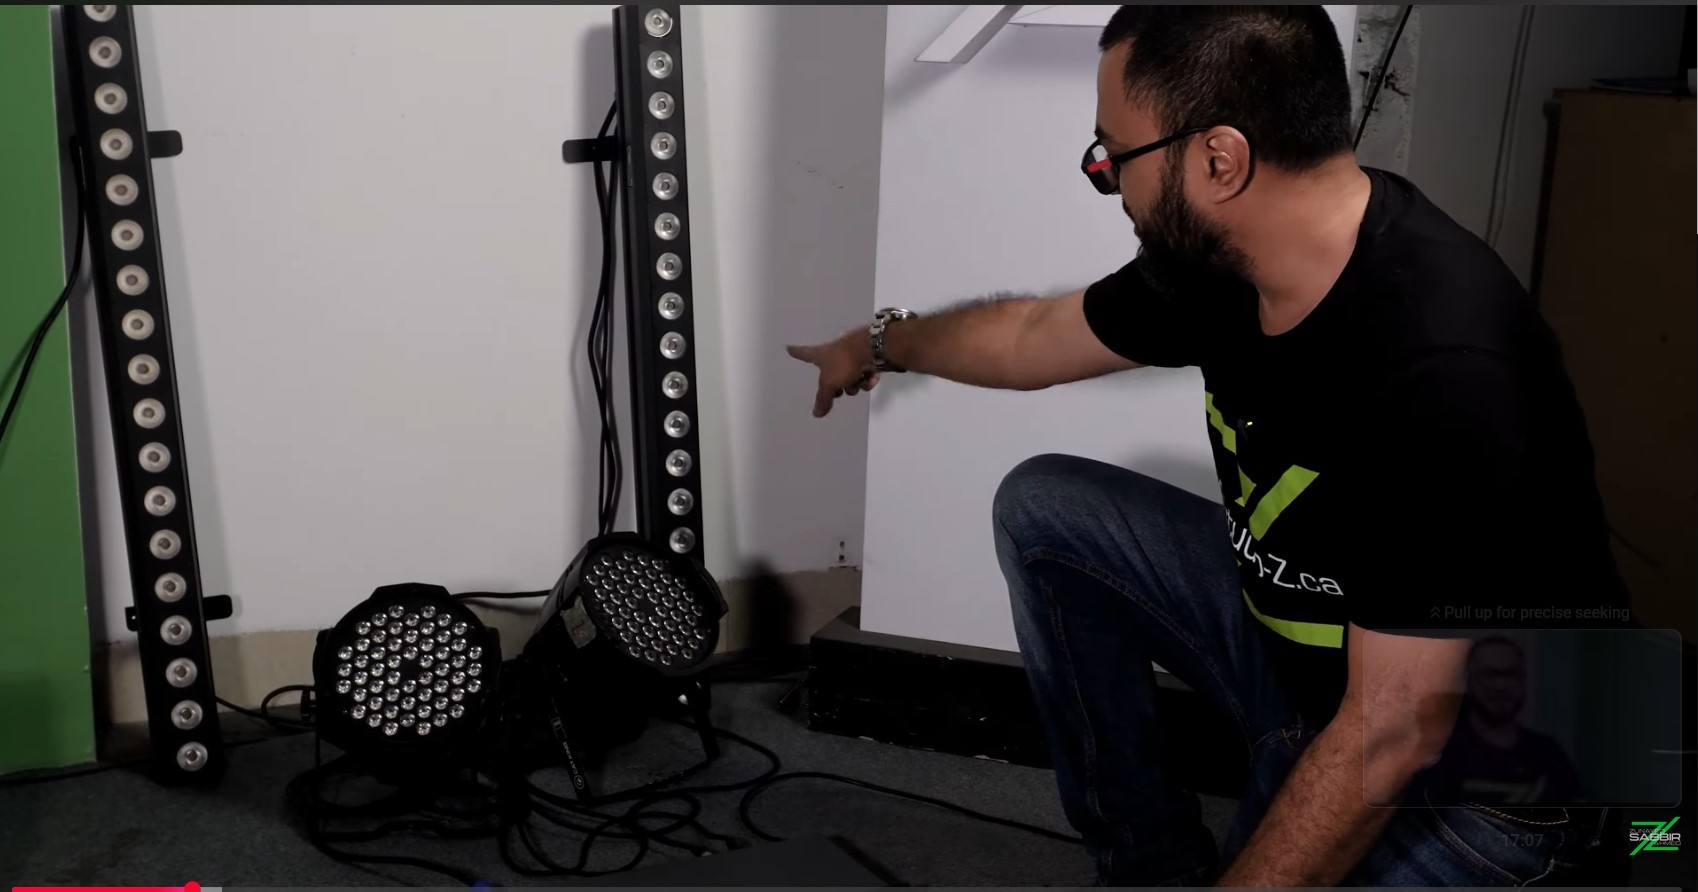
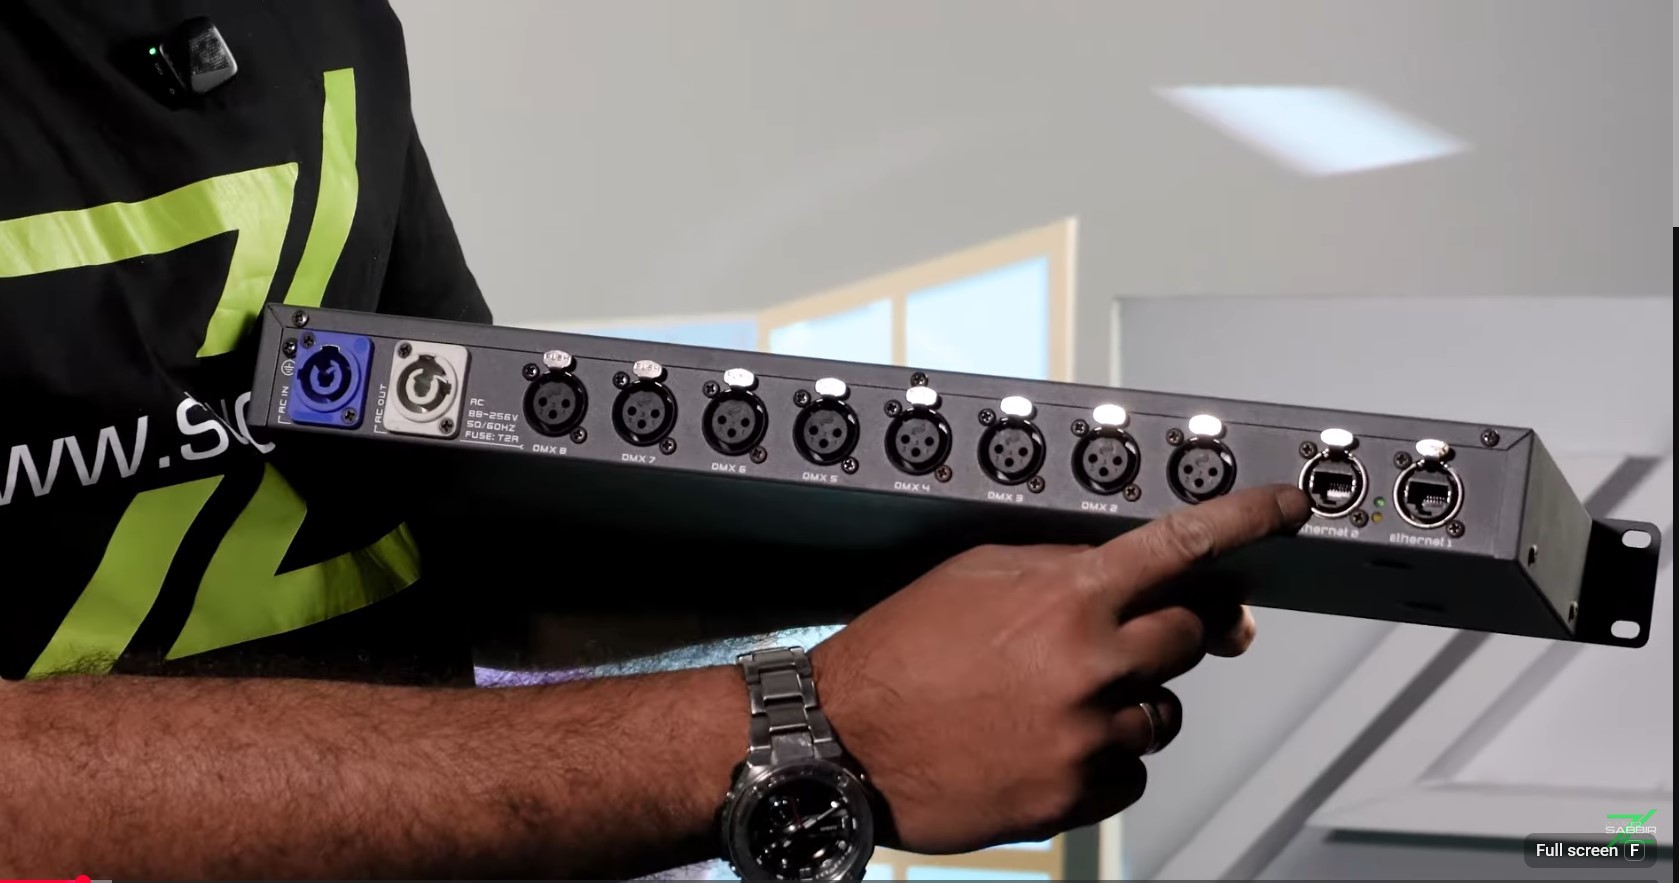
Hardware first. Know your projector, your computer's outputs, your cables. Showing up to a session without understanding your signal chain wastes hours.
Interface before surfaces. Spend time just looking at MadMapper 6 before mapping anything. The interface was significantly reorganized in version 6. If you learned on MM4 or MM5, things moved. A proper interface walkthrough at the start saves you from hunting around mid-show.
One surface, one media file. Your first real session should be the simplest possible thing: one quad, one video file, one projector output. Get that clean before adding anything.
Geometry and masks. Once basic surfaces are solid, learn complex shapes — masks, mesh warping, groups. This is where projection mapping gets genuinely interesting, and where most YouTube tutorials stop.
Scenes and cues. A show is not static. It changes. Scenes and cues are how you structure transitions, build something repeatable, and make it reliable enough for a live audience.
Timeline. This is what separates someone who can do projection mapping from someone who can run a show. The difference is the same as the difference between the actor and the director of a film. Timeline is where you become the director.
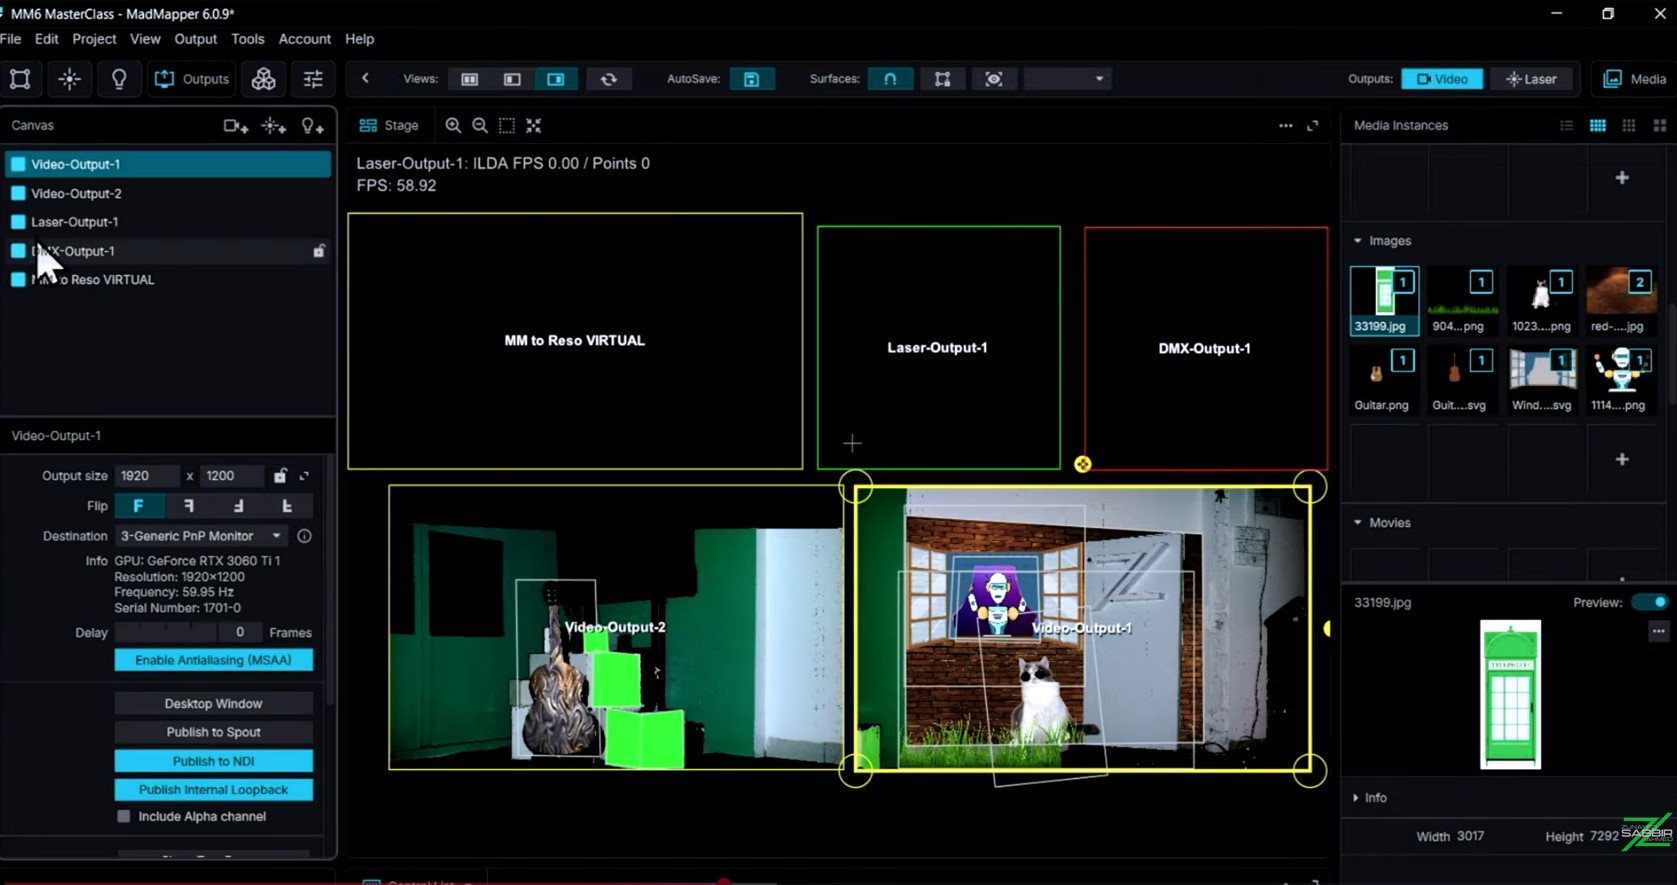
Multi-output, LED, DMX, laser. Once core mapping is solid, expand. A master mapper must dominate the whole world of lights and darkness — and that covers projection, LED, laser, and DMX together.
The Problem With YouTube Alone
YouTube is useful. I point students there sometimes. But the honest reality is this: if you learn MadMapper from YouTube alone, you will eventually hit a wall. Most videos are topic-specific, not sequential. They do not build on each other. And the majority were made on MadMapper 3 or 4. Version 6 has a fundamentally different interface and a completely overhauled timeline. Watching old tutorials and then opening MM6 is like learning to drive in a 2008 car and then sitting in a 2026 one — the principles carry over but nothing is where you expect it.
What Structured Learning Actually Gives You
In years of teaching, I found that 99 percent of students had never found a structured, step-by-step learning base for MadMapper. They knew fragments. Blind spots showed up only when a real show forced them open. That is why I built the MadMapper 6 Masterclass. 22 chapters. Over five hours of video. Hardware, install, interface, surfaces, geometry, masks, groups, multi-projector output, scenes, cues, timeline, LED, DMX, laser — in sequence, with examples and tasks. The course ends with building a complete timeline-based show from scratch.
I pictured one person when I was building it: someone craving to gather mapping knowledge and willing to be taught step by step with real examples. If that is you, this course was built for you.
Watch the introduction video before buying anything. It covers everything the course delivers. If you see what I show in that video and want that knowledge, buy it.
I am a certified MadMapper trainer, verified directly by the MadMapper team. Fourteen years. 400-plus shows. 20-plus international productions. That is what is behind this course.
Get Started: https://studio-z.ca/all-courses/madmapper-6-masterclass-beginner-to-intermediate/


Discussion (0)